
Add a Stripe account
Connect payouts for donations, paid signups, tickets, and raffles.
Connect Stripe before accepting campaign donations, paid signup groups, event tickets, or raffle sales. Stripe handles payment setup and verification.
1. Open account settings
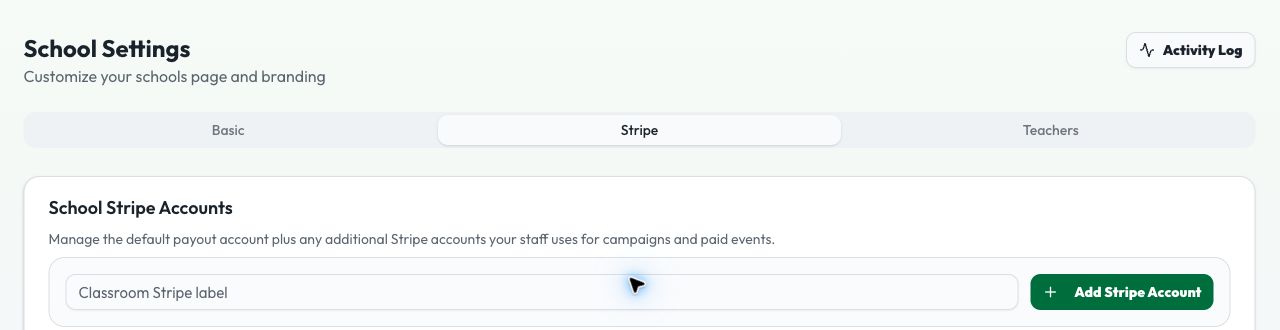
School administrators can use Dashboard → School Settings → Stripe. Teachers can manage their own accounts in Dashboard → School Settings. Room parents use Dashboard → Payments. The page shows existing accounts and their connection status.
2. Create and connect an account
Optionally enter a recognizable account label, then select Add Stripe Account. ClassFund opens Stripe setup in a new page. Complete the information Stripe requests, including payout details and any required identity or business verification. Return to ClassFund when finished.
3. Confirm the status
Look for Connected in the account list. An account is ready to receive payments when onboarding is complete and both charges and payouts are enabled. If the status says setup or verification is pending, select Continue Stripe Setup and complete the remaining steps in Stripe. The page refreshes account status when you return to it.
4. Assign the payout account
Choose the connected account in the Payout Stripe Account picker while creating or editing a campaign, paid signup, ticket event, or raffle. Only connected accounts appear in these pickers. Staff access may be limited to the school default account and accounts they created.
You can use Open Stripe to manage a connected account and rename its ClassFund label from the account menu. Removing an account from ClassFund does not delete the Stripe account; past payments remain linked for reporting.
Related: Create a campaign · Create a signup · Create an event