
Create a signup
Set up simple registration, volunteer groups, or free and paid choices.
Use a signup when people need to register, choose volunteer slots, or select free and paid groups. Open Dashboard → Signups → New Signup.
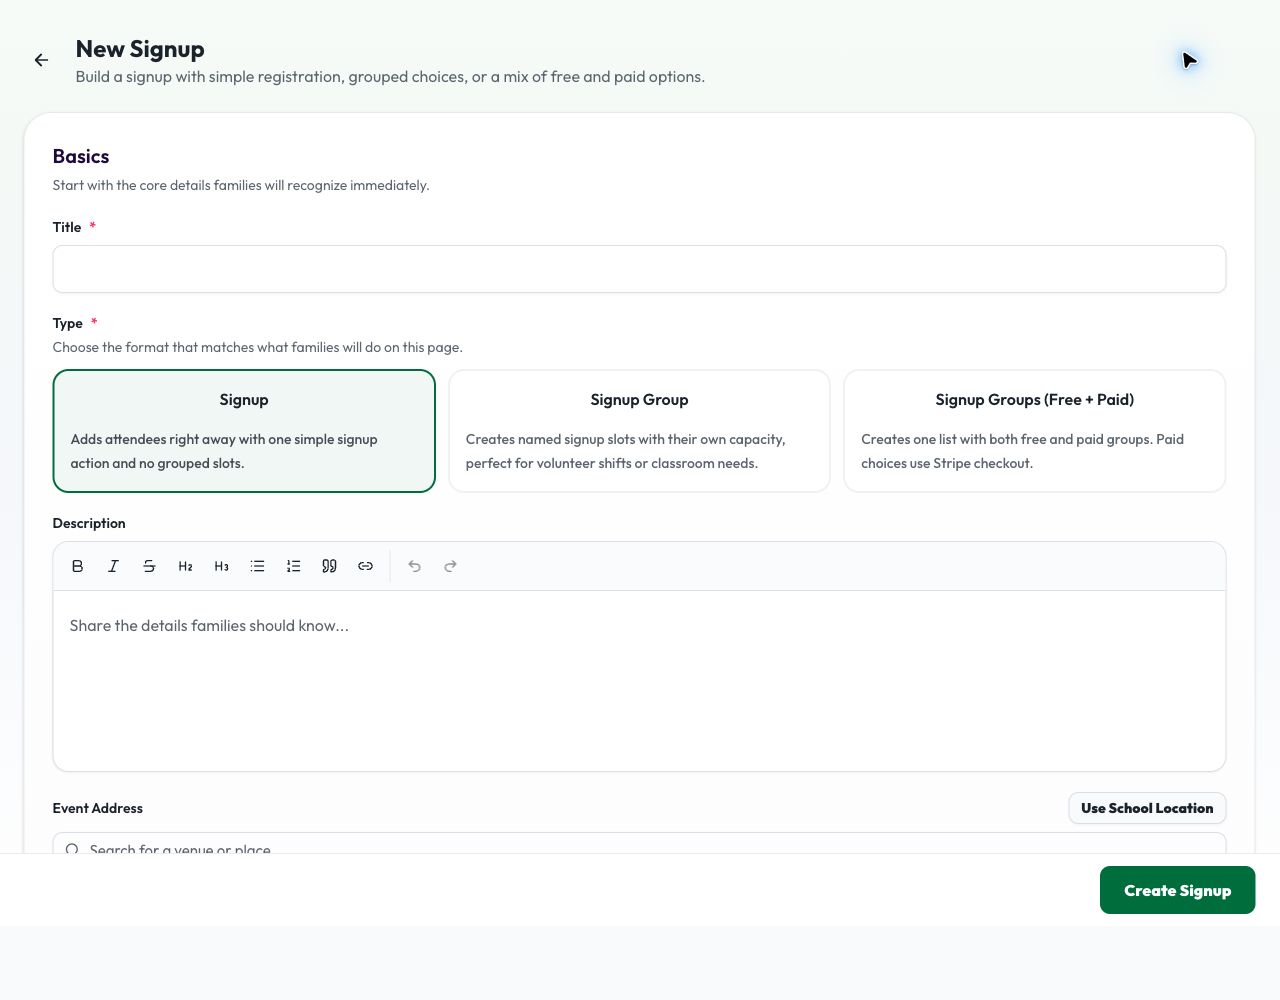
1. Choose the signup type
Under Basics → Type, choose:
| Type | Use it for | What families do |
|---|---|---|
| Signup | A single registration list | Sign up once, without choosing a group |
| Signup Group | Volunteer shifts or named slots | Choose a group with its own capacity |
| Signup Groups (Free + Paid) | A mix of free and paid choices | Choose a group; paid groups use Stripe checkout |
2. Add the basics
Enter a required Title and an optional rich text Description. Optionally add an Event Address (or Use School Location), Button Text, Event URL, and Event Image. The recommended image is an 800 × 200 JPG or PNG. For a simple Signup, Contact Email adds a Contact us button to the public page.
3. Set the schedule
Enter the required Start Date & Time and End Date & Time. These use your school's time zone. Check both values before publishing.
4. Configure groups, if selected
For Signup Group or Signup Groups (Free + Paid), open Registration Setup and select Add Group. Give each group a required title and a maximum number of signups. You can add a description and image. Each group can also request an extra answer with a field label and a type: text, number, email, phone number, or date. Alternatively, enable quantity and names to collect a name for each reserved spot.
You can customize the group list Title and Subtitle, show overall signup progress, add a progress description, and allow a person to join multiple groups. When multiple groups are allowed, you can set Max Groups Per Person or leave it blank for no maximum.
For Signup Groups (Free + Paid), select Free or Paid inside each group. Paid groups can use an Overall Group Fee or an individual Group Fee. Allow promo codes controls whether buyers see a promo code input for that paid group. Include free group entries can give buyers a set number of spots in one eligible group of their choice; an eligible group must have Require Quantity enabled. Review these settings for each group before saving.
5. Set up payments, if needed
Paid groups need a connected Payout Stripe Account. Only accounts with completed onboarding, charges enabled, and payouts enabled appear in the account picker. If no account appears, add a Stripe account first.
6. Publish
Under Publishing, choose Draft to prepare the page or Active to make it available immediately. Allow Guest Signup lets families register without creating an account; turn it off when a login is required. Select Create Signup. Review the new page, then share its public link. You can later edit its status; simple signups also offer Closed.
Related: Events · Campaigns · Which one should I use?