
Create a fundraising campaign
Build a donation page with a goal, donor fields, gifts, and a QR flyer.
Use a campaign to collect donations around a goal or story. Open Dashboard → Campaigns → New Campaign. New campaigns start as drafts.
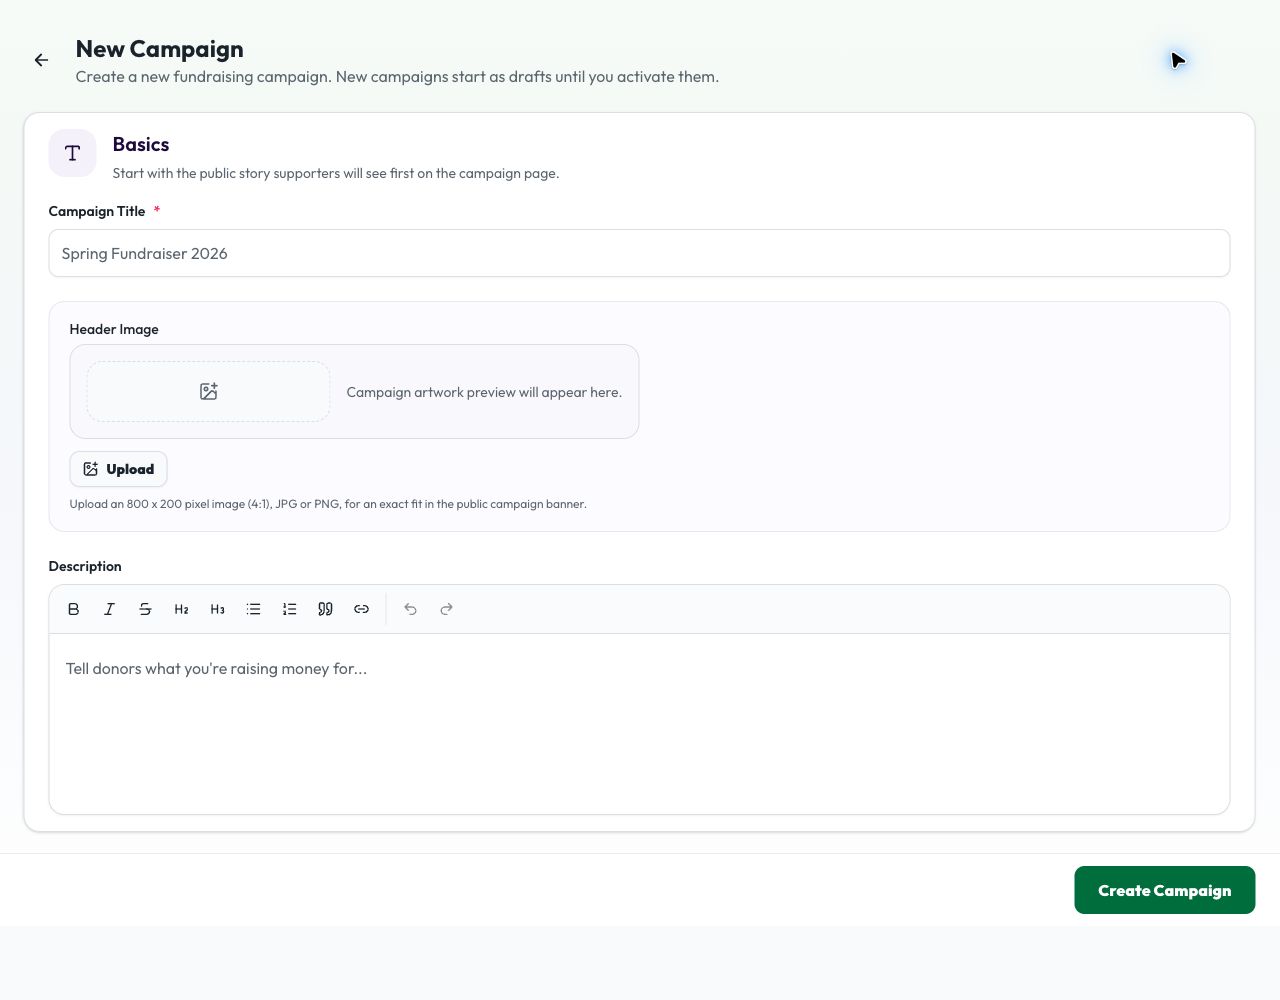
1. Tell the story
Enter the required Campaign Title. Add an optional Header Image and rich text Description. An 800 × 200 JPG or PNG fits the public banner.
2. Set goals and payments
Add an optional Funding Goal to show fundraising progress, an optional End Date, and suggested donation amounts. Choose a connected Payout Stripe Account if donations should be accepted. You can save without one; the campaign will be marked as not ready to accept donations until you connect Stripe.
3. Configure optional donor features
- Donation Gifts: Add a Free reward unlocked by a donation threshold or a Paid add-on with its own price. Each gift has a name and can have a description, a custom text, number, or select field, and a photo.
- Donation Form Fields: Select Add Field to collect donor details. Field types are Text, Dropdown, Number, Teacher, and Student (name + teacher). Dropdowns need choices. Teacher and student fields use the teacher roster in School Settings. Mark a field Required if needed; eligible fields can also feed a leaderboard.
- QR Flyer: Customize the printable flyer's heading, byline, and QR instructions. Review the preview alongside the fields.
- Donation Widget: Show or hide the donation callout on the public campaign page. Customize its title, subtitle, and button label.
4. Save and activate
The Publishing status is Draft on creation. Select Create Campaign, review the campaign page and donation form, and activate it from the campaign dashboard when it is ready. Confirm the payout account is connected before asking supporters to donate.
Related: Signups · Events · Which one should I use?